How I embroider denim.
As you saw in my previous posts- I’ve got a thing for embroidering denim. I also have "a thing" about having it turn out exactly how I envision it, even if that means carefully removing a ton of embroidery. I’m going to share with you the two ways I approached embroidering my Hampton Jean Jacket.

DISCLAIMER! I am not an embroidery expert by any stretch of the imagination. I just know what works for me.
So initially, I thought I was going to be doing some Sashiko embroidery. Which is a Japanese technique with running stitches. What I learned while researching sashiko there is a method to the way in which the designs are created and its not only attractive from the front but very clean looking on the reverse as well. The design I chose is basically overlapping circles. Before landing on this I did make a small sample and even tried another pattern. I also wanted to see how different color embroidery thread looked on my denim.


To achieve this I traced out a grid on the back of the yoke and then created circles within the boxes and then circles on the intersection of the blocks as well. This gave me the pattern. I did this with tailors chalk. I did not use a hoop to do this though I tried it initially and din’t like it. I was happy with the way came out technically speaking but the overlapping circles ended up looking too flowery. I never got a good picture of how it was before I decided to start over, but I was pretty much done.. sigh. Onward.


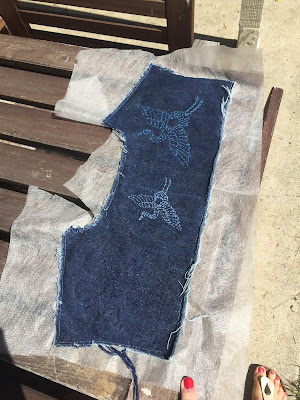
For my second attempt, I chose a design that I found on Pinterest that was not even an embroidery design but rather just a simple image I was drawn too. The crane. I printed it out in several sizes and then I traced it onto clear Sulky Solvy Stabilizer, which is usually used as a topper for machine embroidery. I have used it for it’s intended purpose before and it knew it would be great for the task at hand. So I used a sharpie pen to trace the design I pinned it to the fabric. For one of the smaller cranes I did use a small embroidery hoop- I also traced the embroidery hoop to make sure that it would fit in the hoop.


So really quickly and probably not very articulately (sorry!) heres a quick run down. I thread my embroidery needle with the loop of the thread - the floss is folded in half at this point so I try to cut my floss long and I usually separate the strains. Hopefully the pictures above are helpful. I used three strains and when folded through I'll actually be embroidering with 6 strains.


So initially, I thought I was going to be doing some Sashiko embroidery. Which is a Japanese technique with running stitches. What I learned while researching sashiko there is a method to the way in which the designs are created and its not only attractive from the front but very clean looking on the reverse as well. The design I chose is basically overlapping circles. Before landing on this I did make a small sample and even tried another pattern. I also wanted to see how different color embroidery thread looked on my denim.


To achieve this I traced out a grid on the back of the yoke and then created circles within the boxes and then circles on the intersection of the blocks as well. This gave me the pattern. I did this with tailors chalk. I did not use a hoop to do this though I tried it initially and din’t like it. I was happy with the way came out technically speaking but the overlapping circles ended up looking too flowery. I never got a good picture of how it was before I decided to start over, but I was pretty much done.. sigh. Onward.


For my second attempt, I chose a design that I found on Pinterest that was not even an embroidery design but rather just a simple image I was drawn too. The crane. I printed it out in several sizes and then I traced it onto clear Sulky Solvy Stabilizer, which is usually used as a topper for machine embroidery. I have used it for it’s intended purpose before and it knew it would be great for the task at hand. So I used a sharpie pen to trace the design I pinned it to the fabric. For one of the smaller cranes I did use a small embroidery hoop- I also traced the embroidery hoop to make sure that it would fit in the hoop.


I did put a stabilizer on the back of the denim because the denim I was using had some stretch and I didn't want the design to end up being rippled. I don't have a fantastic picture of this so they one below will have to do. When you use something like this be careful to make sure all the layers are flat and not folded or getting caught by your hoop or needle as you work on your design.. Just saying for experience its a real downer & requires some patiences to undo without damaging your fabric.

When I was done embroidering my cranes I did tear away much of the clear stabilizer and carefully trimming some away. For this I do recommend using embroidery scissors which are curved so you won't accidental cut your fabric. Duck bill scissors would also do the job. I know much of it would wash away but I also wanted to reduce bulk as I moved from crane to crane.
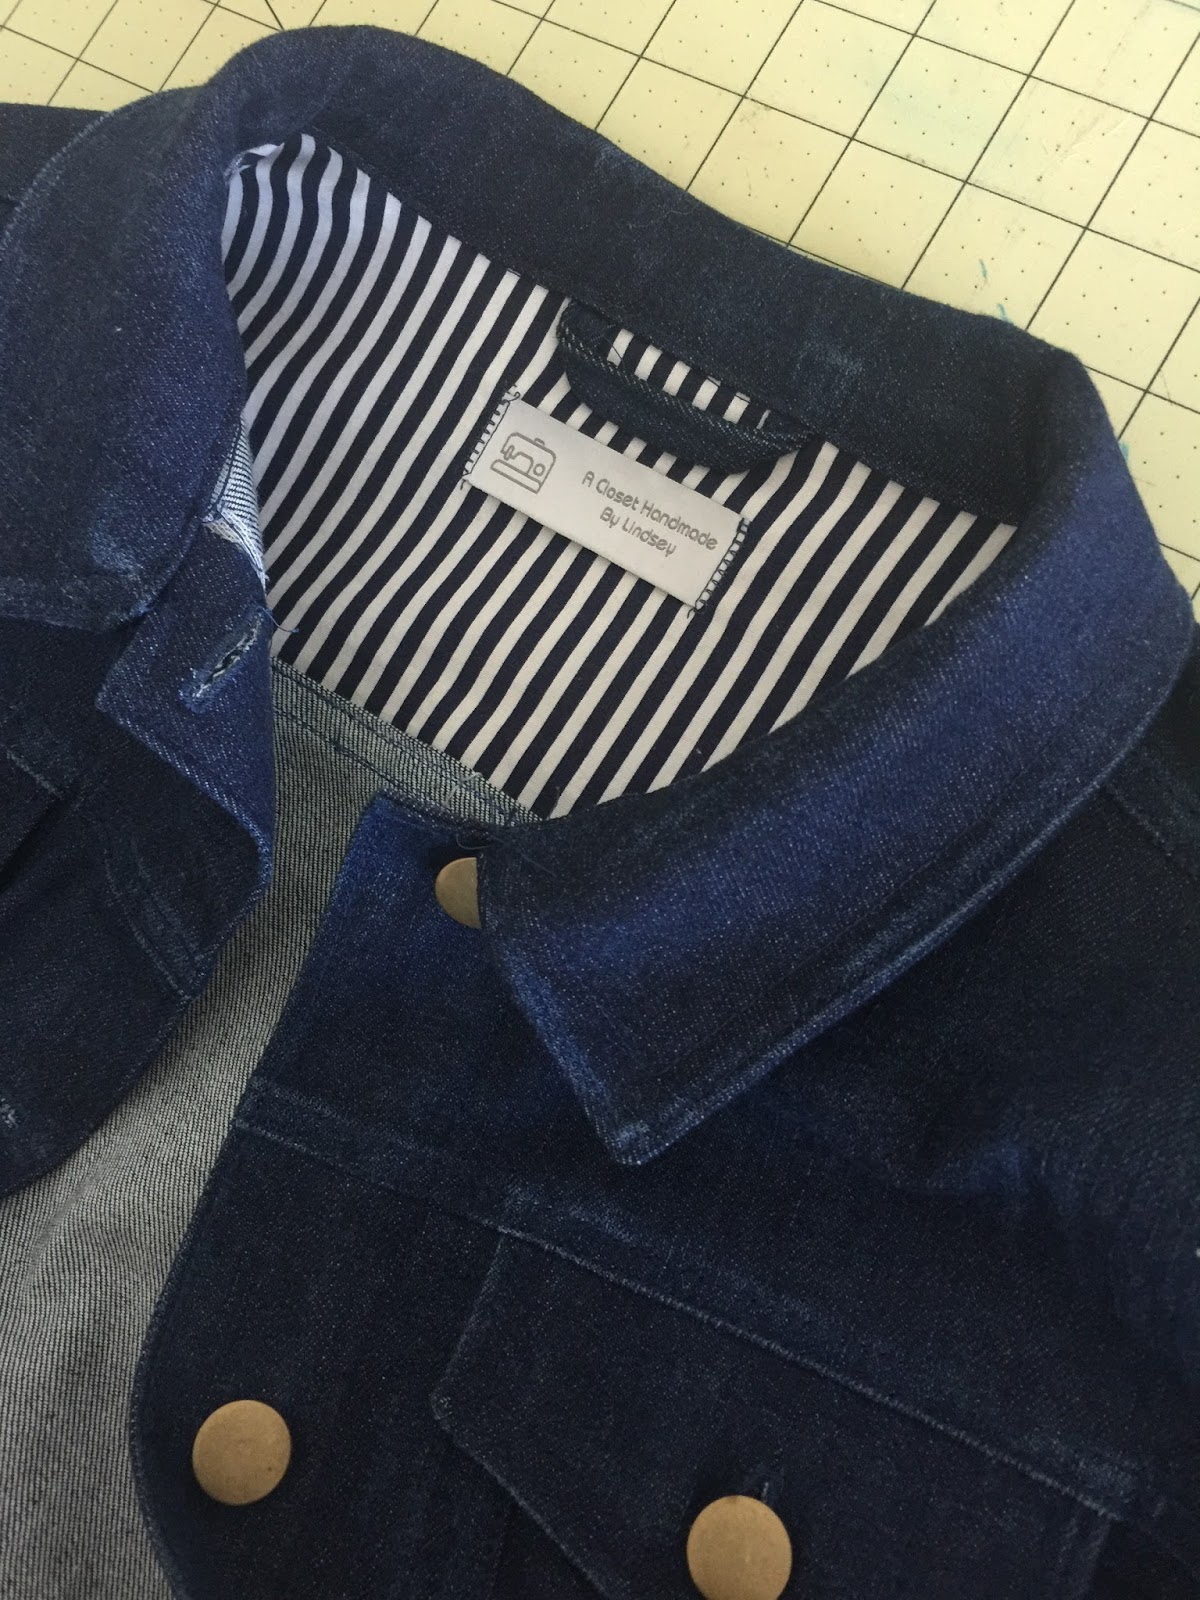
Since my embroidery design was done the yoke of the jacket I was able to cut an extra piece to line the interior. I like that this covers and protects the back of all my handwork. Also, I can use the loop for hanging without fear of snagging the embroidery floss. If you were going to embroider jeans you would probably not have this option but there are embroidery backing you can apply with an iron to protect your work and also make it bit more comfortable. I use a cloud cover over the back when I'm doing embroidery that will not be encased or might be itchy, this is especially helpful with working on garments for my children.
I do want to show you how I start my embroidery because I end up with a much cleaner back to my designs. When I'm embroidering clothing I'm much more concerned with making sure I don't have bulky mess of floss on the back. However, when I'm embroidering in a hoop to hang on the wall or frame I really don't worry about it much.


I make sure the loop half of the floss is longer so as you pull through the loop stays on the back of the work and then you will reinsert your needled making sure it goes through the loop. I do this right next to the hole where the floss originally went through, don't use the same hole or the floss will just pull right out.

The result is very clean back to start, you also don't have to worry about making a knot or it possibly pulling through. So that's how i like to embroider on apparel! Thanks for reading! I hope it was helpful and enjoyable!


Comments
Post a Comment