Pinterest Inspired Stripe Skirt
I had considered some circle type skirts but decided I wanted a slimmer silhouette that would be good paired with a t-shirt or tank top. I came across this image and was sold. I knew it would fit my criteria as well as being good with a variety of shoes.
 |
| here's the source |
I had fabric that I had gotten at the swap which I thought would be perfect. It’s a fabric that feels like a light weight stretch twill. I like the colors, which to me feel neutral. I needed less than a yard for this project.

my french curve.

If you use a true pencil skirt I would recomment making the side seam a bit more straight.A true pencil skirt goes in with the shape of your leg, so it will become somewhat more narrow towards the hem, which is flattering but might impact the look of the curved hem.


Once I had traced off the basic skirt I took my french curve and played with it at the hem and side seam until I had a curve I was happy with. I drew it in and then laid the front over the back and traced it on to the second pattern piece. You could make the back longer than the front, I wanted mine the same length but i do plan to make another.


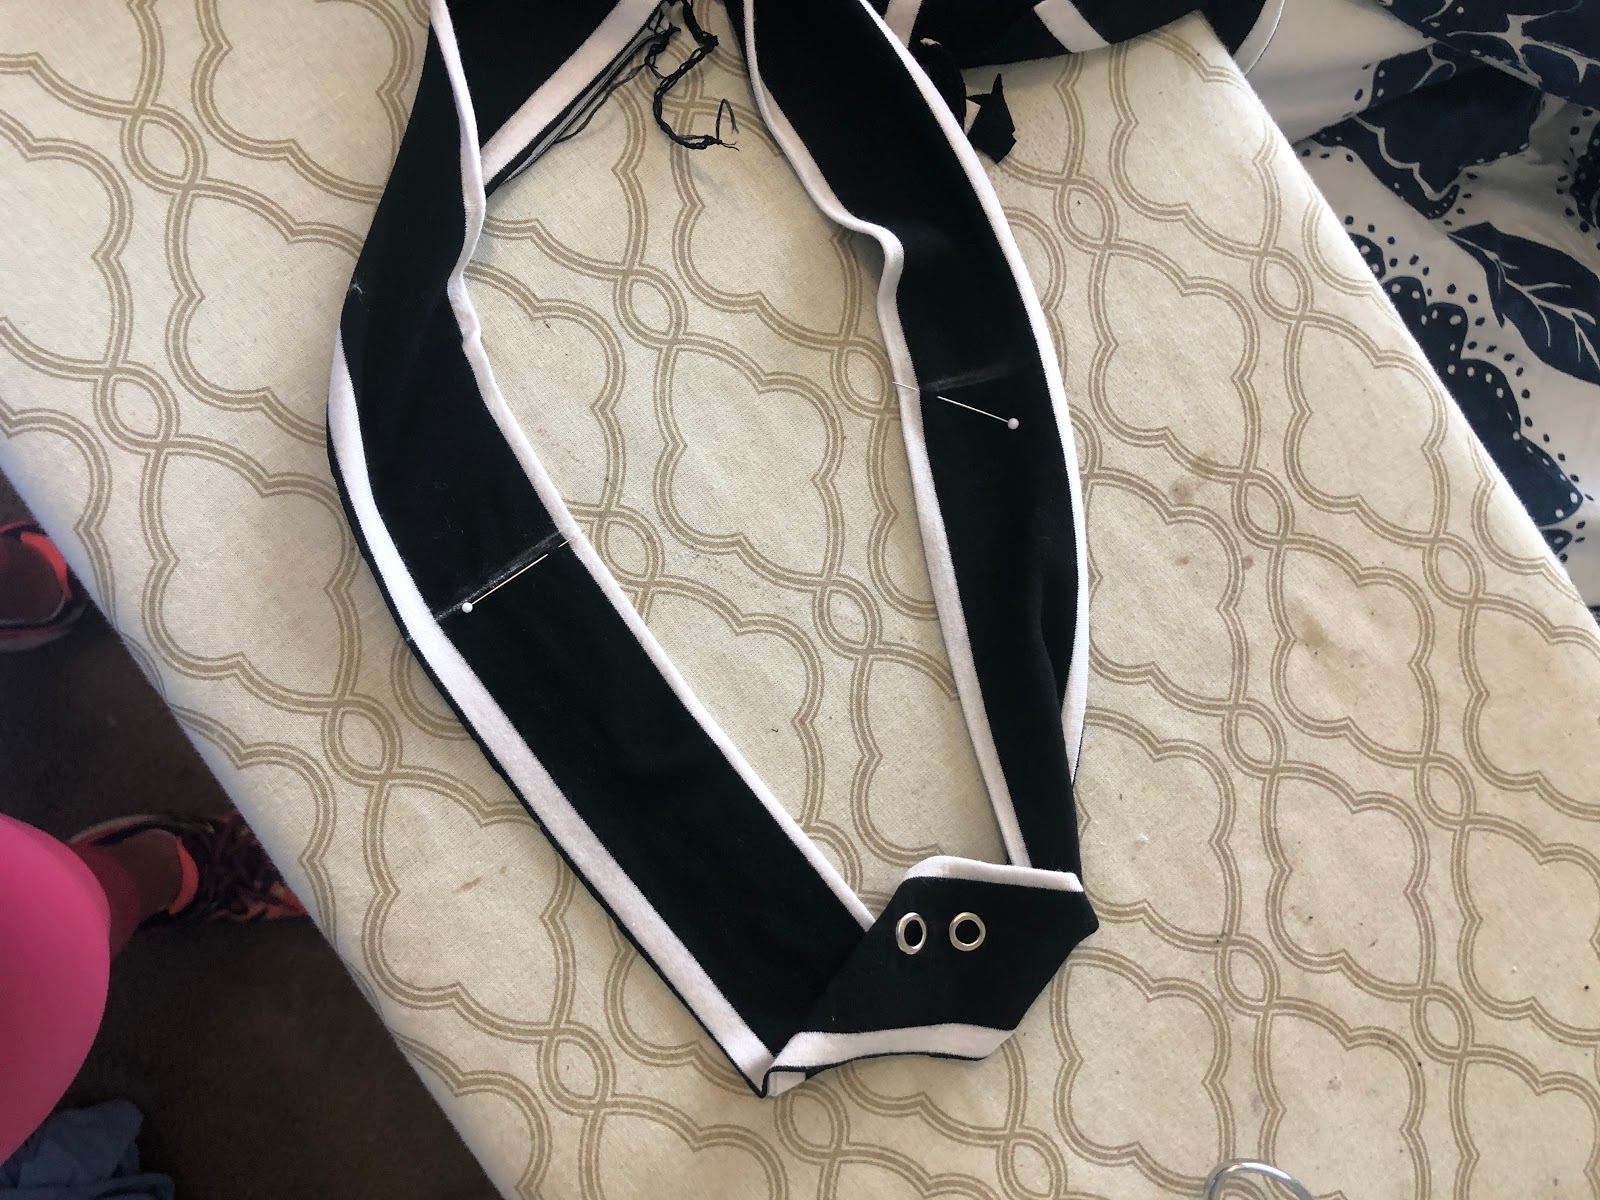
At this point I cut out my pieces taking care to make sure that my stripes would line up. Next I drafted a simple waist band by adding 2” to my waist measurement by 3.5 as I wanted my final waist band to be only 1.5” wide. I took the piece folded it in half length wise and pressed it. I also found the center front. On the folded front portion I marked where I wanted my grommets to go
and installed them. It’s a good idea to back this area with some interfacing to increase the durability especially if you plan to use the drawstring. If you plan to pull some sort of the and use a safety pin be aware the size of your grommet will impact the size of the safety pin you can use.. Picture me using the tiniest safety pin.
While you have your waist measurement cut your elastic (I used 1.25” eslastic). Some recommend cutting the elastic an inch shorter than your measurement- I cut it to the measurement knowing I will be overlapping the elastic to close it.


I should probably mention at this point that I cut a long piece of the fabric on the bias (honestly I’m not entirely sure how long I would guess probably 40” by 1.5”) folded it in half lengthwise and sewed with a 1/2 seam allowance it to create a thin tube which I used for the drawstring. You could use cord or ribbon if you want to avoid the hassle of turning a tiny tube. If you do make your own drawstring be sure to grade the seam allowance way down to 1/8 if possible this will make turning the tube much easier. Use whatever method you prefer to turn it.
Finally, take your main front and back and sew them up the sides using a 5/8 seam allowance or whatever seam allowance your pattern called for. I would try the skirt on at this point- also sit down in it- make sure you have enough ease to be comfortable. There will be extra fabric at the waist- dont be alarmed. If you are happy with the basic fit on the hips and legs finish the seams as you’d like. I serged mine. I also gave it a good press at this time.
 |
| pinned into quarters |
 |
| pinned to elastic |
 |
| elastic basted into waist band |
I marked the center front back and sides on the waist band and marked the front center and back on the main skirt body. I closed my elastic at this time as well. Sewing a box with an x through it to ensure durability. Slide that bad baby on and check the fit. Once you know the fit is what you want you can finish the waist band however you like. I like to trim down the seam allowance and serge it. Next you can sew a long zig zag 3/8 down from the top of the waist and then an additional 3/8 down from that seam. You’ll insert your drawstring in the center channel. You may have to change the depth of your zig zags depending on the width of the waistband and elastic you choose.


I like to baste the waist band to the skirt making sure to pull the waist band slightly to make it flat (see pic above) . At this point I’d try that skirt on again making sure you are happy with the fit of the skirt and waist band. I skipped this step on my skirt and had the pleasure of picking out the serged seam and top stitching.. so fun.
Okay, next we take on the hem. There are several ways to do this. Obviously you could omit the curved hem and just make it straight. I’ll walk you through 3 ways you can hem it curved. First, the method I used for my original skirt. I used a long basting stitch 1/2 from the hem. I finished the raw edge with my serger before doing this. Once you have the basting stitch in you can use it as a guide to press along and pin. I like to use a lot of pins as i come around the curve to ensure that it’s smooth. On the side seam you should have 5/8 seam allowance, you’ll want to clip above the start of the curve so you can iron it open. Now you’ll hem it at 3/8. Honestly, I wish i had used my coverstitch for his part but sometimes I still forget I have it. It would have made it much simpler- I could have skipped the serger and just run it through the machine once.


Option 2. You can use double fold bias tape, you will open up the tape and stitch in the fold with right side together. Next flip it down and to the wrong side and press it well. Then you can stitch 1/8 from the end of the biased tape or use an edge foot. This is a pretty quick method but take your time presssing and sewing around the curves. Take care not to pull or stretch them or your hem will end up with a wavey hem. I haven't made this skirt using this method yet so I don't have pictures for you. I'd highly recommend checking out this tutorial by the amazing Closet Case Patterns.
Finally, you can draft a quick facing. You’ll trace the hem of the skirt pieces (both front and back) and create another line 1.5”up. When you come to the sides you’ll create a soft curve, as you can see in the pictures below. You’ll join these two pieces with the same seam allowance as the skirt. You can finish the top of the facing by serger if you’d like. Then pin the facing to the skirt to the skirt, right sides together. You will sew this with the same seam allowance as the skirt side seams. After attaching the facing to the skirt you will want to grade down your seam allowance. Be careful when grading around the curves that you dont clip to close to the seam. Now press the facing down and pin. If you want you can fold down the facing 1/4 towards the wrong side. If you are using knit, you dont need to worry about finishing this edge. At this point its all pinned and pressed you can sew around the skirt hem being sure to catch the facing. And you’re done.


Hopefully you’ll love your new skirt as much I love mine. I think it will be a great addition to my spring summer wardrobe. I plan to make a few crew neck and v neck union street tees to pair with this skirt and the others i have planned to made.


I have to say when I see them side by side I'm so thrilled. It's a dead ringer for my inspiration.
Thanks for reading!
Lindsey
Lindsey

Comments
Post a Comment